Calendar

|
|
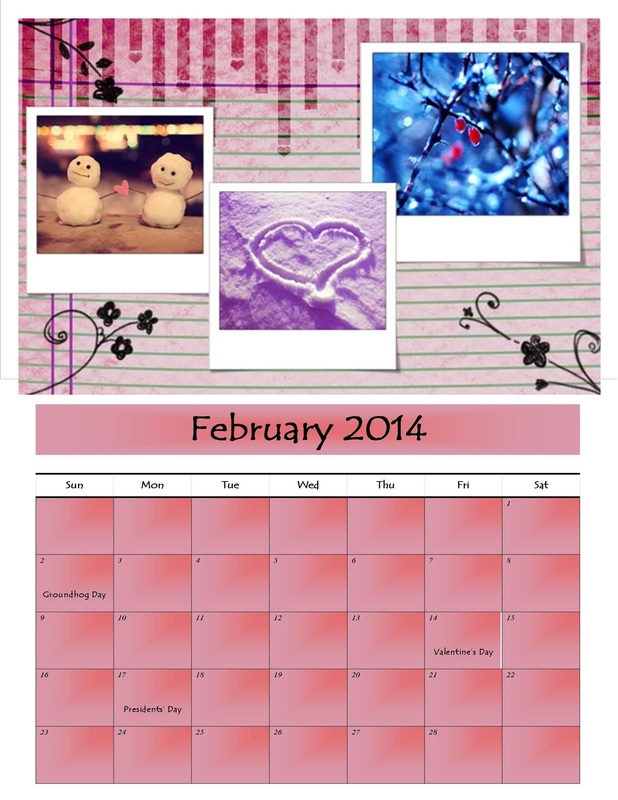
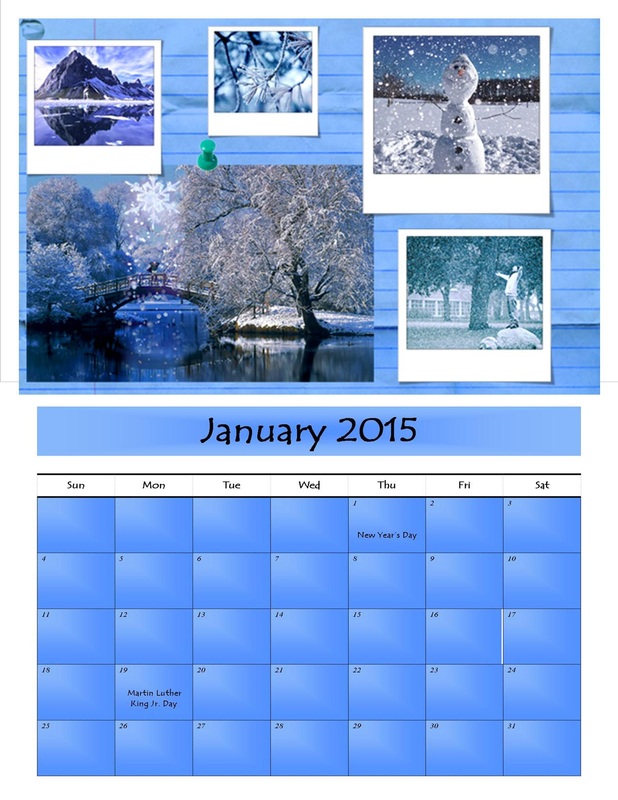
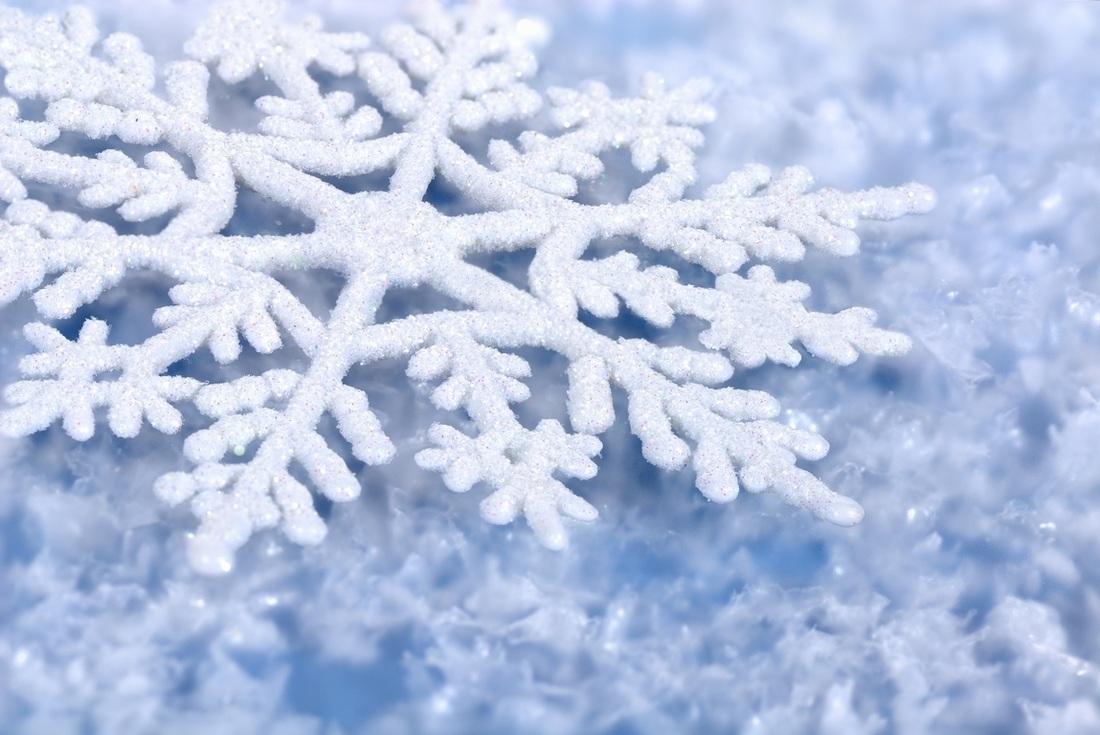
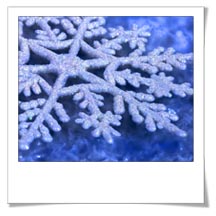
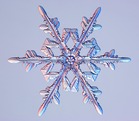
In this picture of a snowflake, I adjusted the hue to make it more blue and the saturation to make the color deeper. I also added a cooling filter to make it more blue as well. Then, I put the snowflake behind a polaroid outline and cropped it to fit. Finally, I merged the layers so that they would move together when fitting them in my calendar.
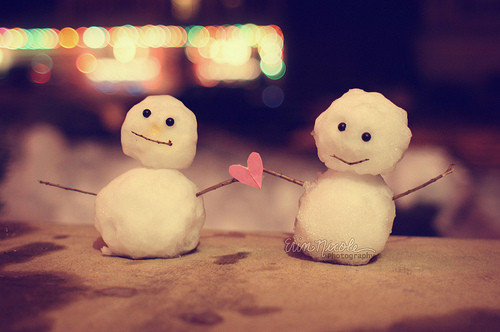
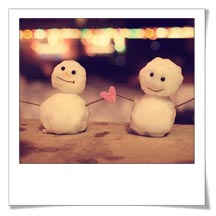
In this picture of snowmen, I used the clone stamp tool to make more lights across the top. I also used a an orange warming filter to make it look warmer. Then, I put the picture behind a polaroid and cropped it to fit. Finally, I merged the layers.
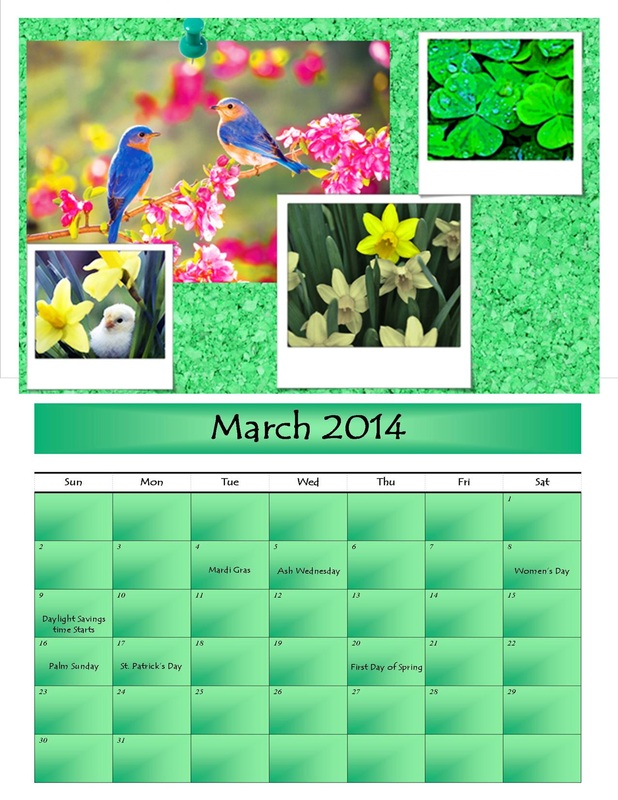
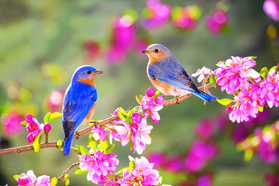
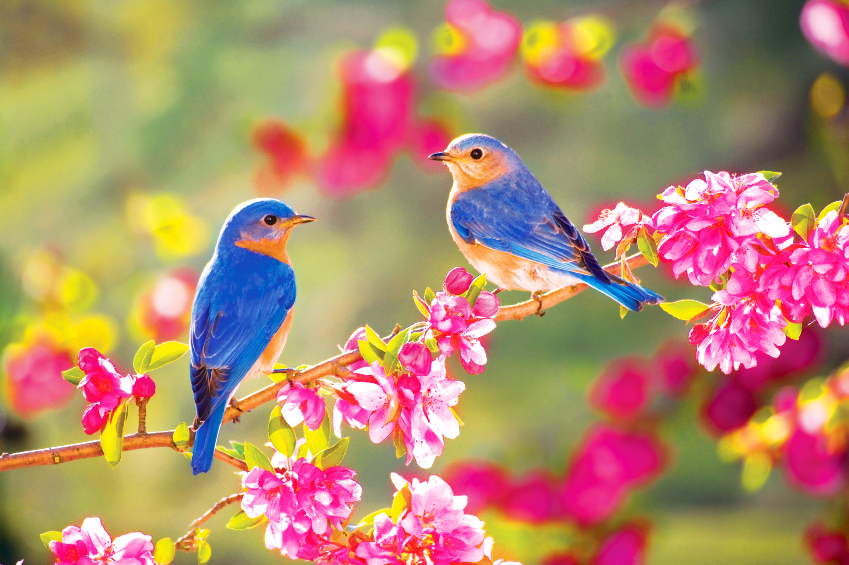
In this picture of birds, I increased the saturation to make the colors pop. I added a new layer and painted pink over the flowers and blue over the birds. I set the blending mode to overlay to make the flowers and birds look more colorful and glow.
|
|
|
|
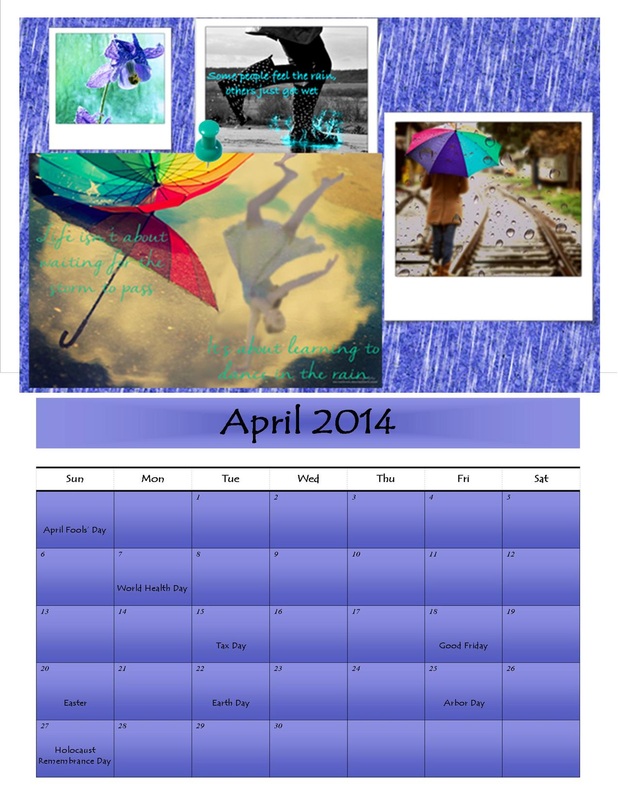
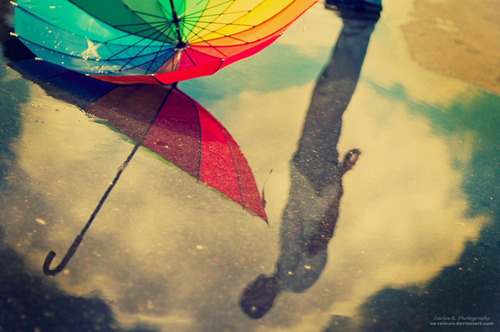
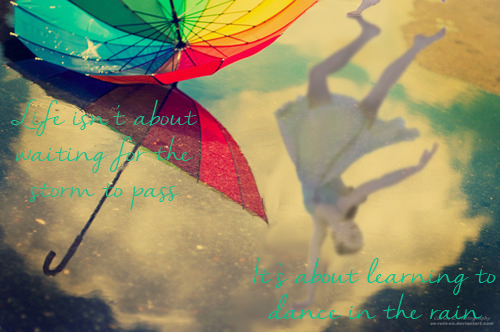
In this picture of a man's reflection in a puddle, I used the clone stamp tool to get rid of the man and fill him with the cloud. I used the magic wand to crop the dancer out of the background and put her in the picture. Then, I duplicated the dancer into two different layers. I used the first layer to flip her vertically and horizontally to be her reflection. In the second layer, I flipped her horizontally and moved her to the top of the picture so that you can only see her foot. I desaturated and blurred the reflection to make it look like a rainy day. Finally, I added a quote, "Life isn't about waiting for the storm to pass, it's about learning to dance in the rain."
|
|
|
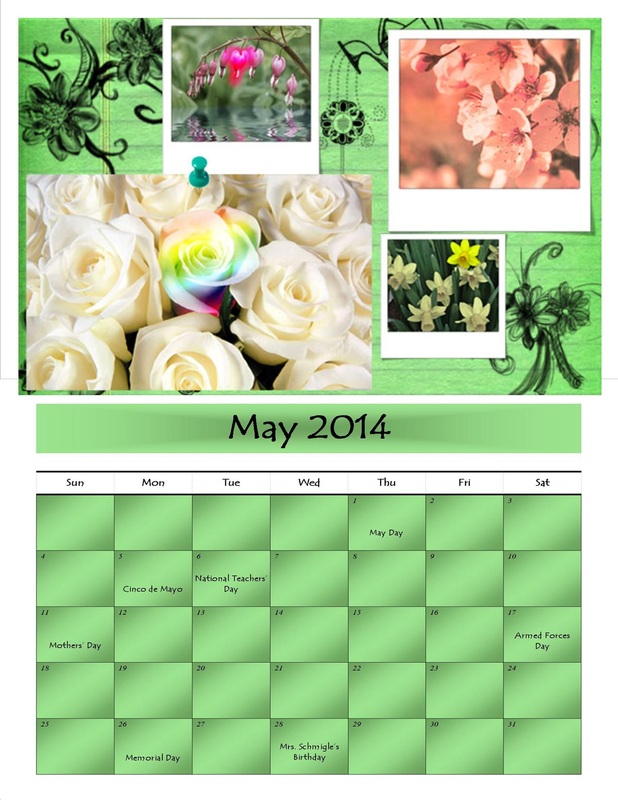
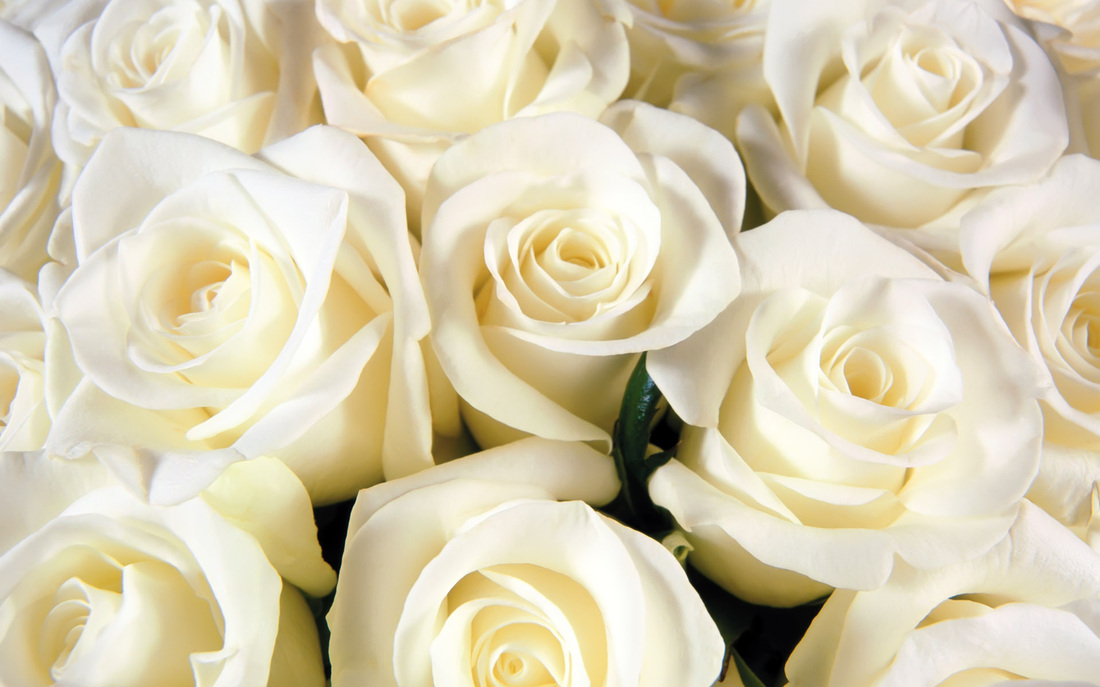
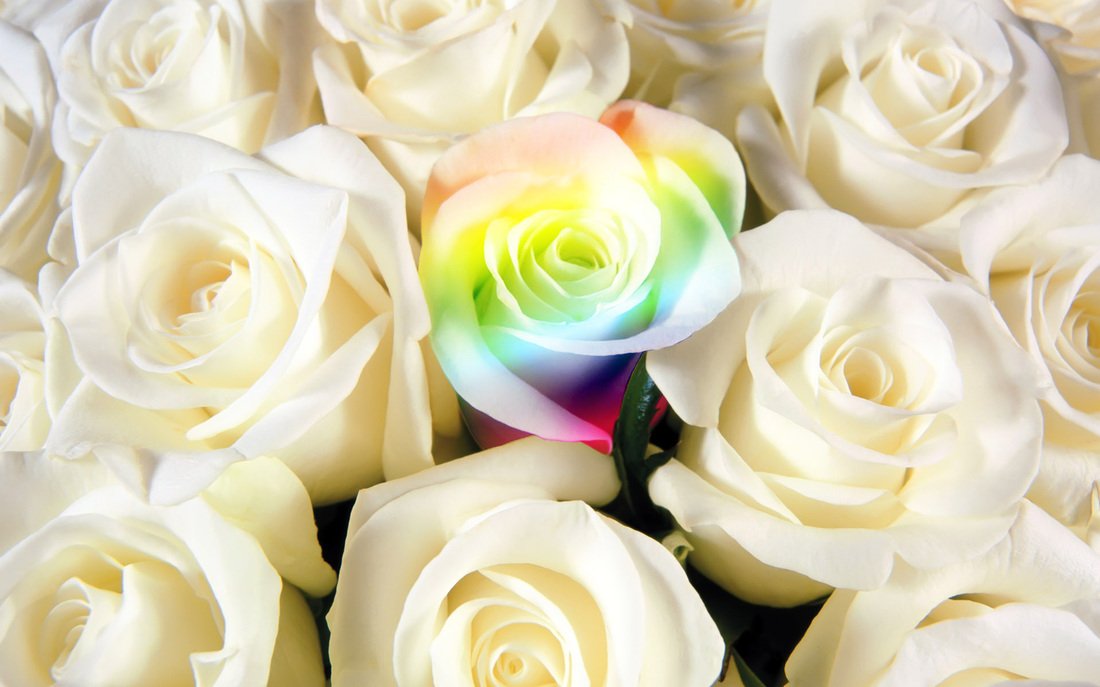
In this picture of white roses, I selected the rose in the middle and made a new layer with it. I made another new blank layer and used the gradient tool to make a rainbow over the roses. Then, I hid that gradient layer and selected the entire rose with the quick selection tool. I changed the selection to inverse, revealed the gradient layer, and deleted the gradient everywhere except on the rose. Finally, I set the blending mode of the gradient to overlay.
|
|
|
|
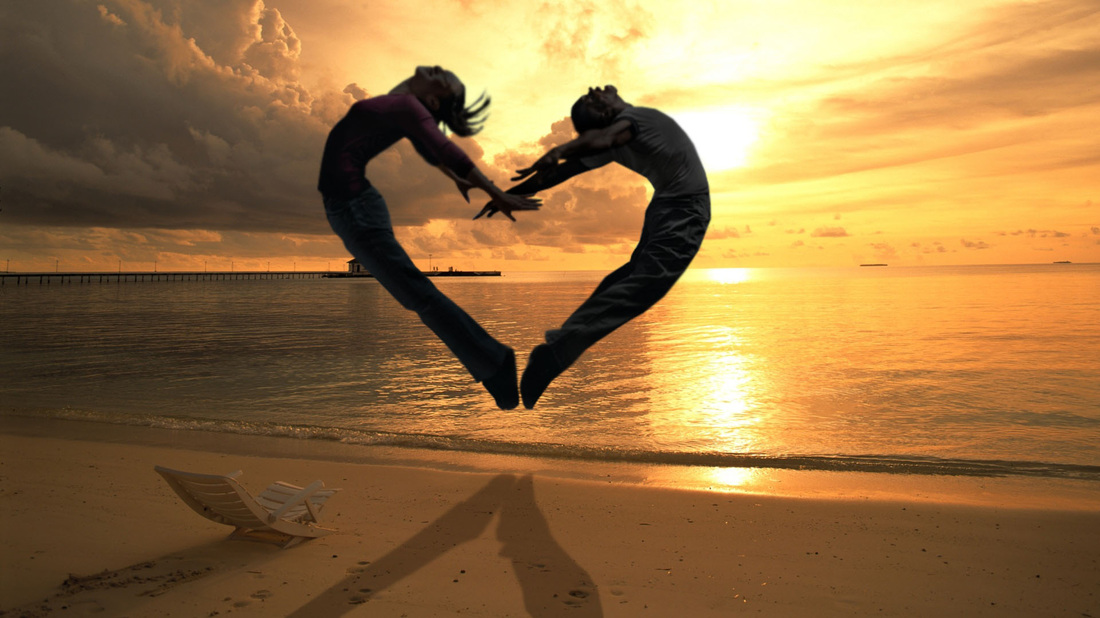
In this picture of two people making a heart on the beach, I selected the people with the polygonal lasso tool and moved them into the beach scene. I desaturated them, adjusted the brightness and contrast, and used the burn tool to make them look darker. Next, I duplicated the layer and set the lightness to -100 to fill them with black. Then, I flipped the layer vertically and skewed it. Finally, I changed the opacity to 28% to look like their shadow.
|
|
|
|
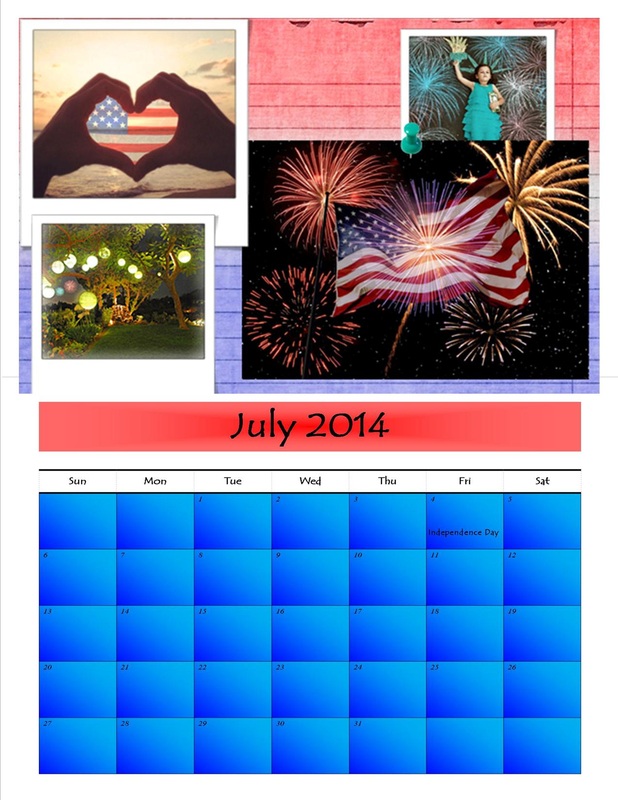
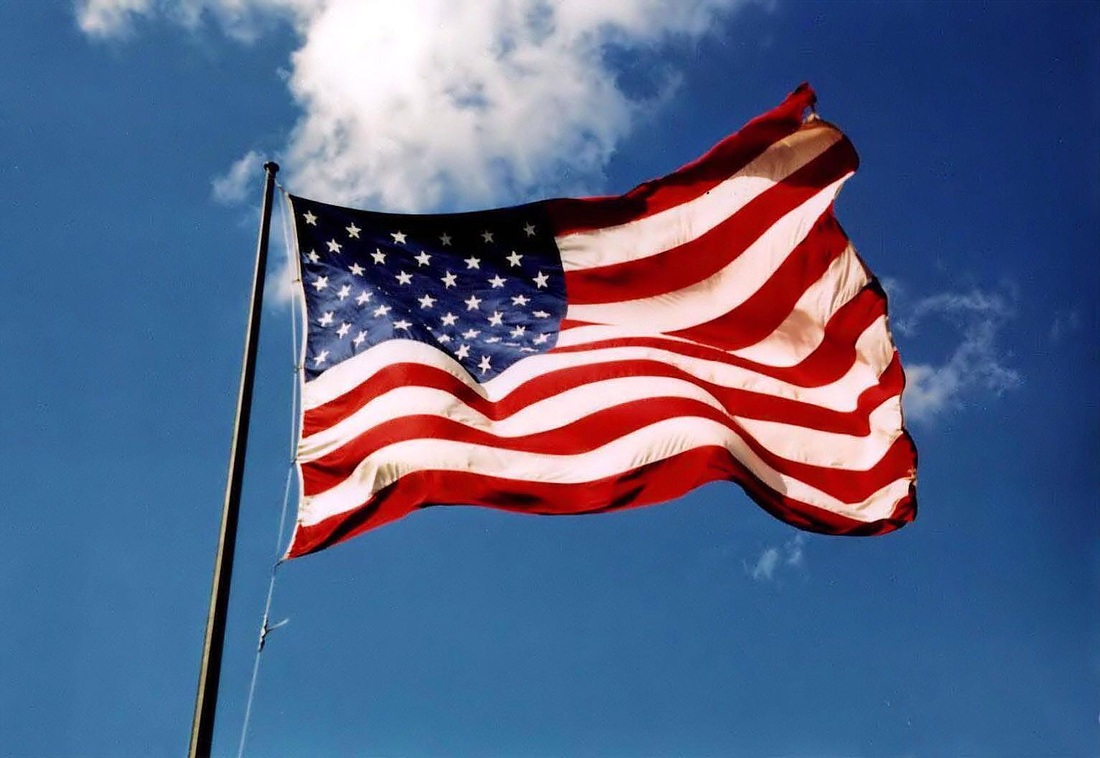
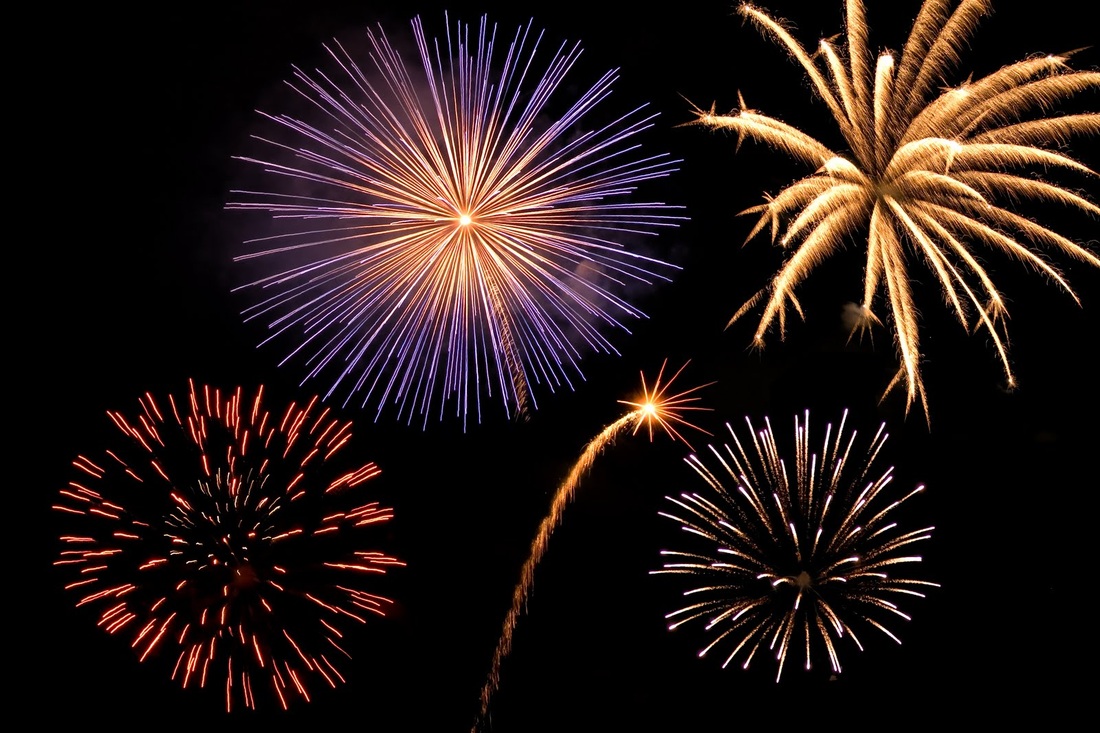
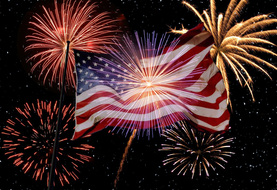
In this picture of an American flag, I elected the flag and pole with the polygonal lasso tool and deleted the sky background. I made a new layer, filled it with black and converted it to a smart object. Next, I added noise and a gaussian blur. I added a levels adjustment layer and adjusted the pointers to make it look like stars. I added a hue/saturation adjustment layer and changed the hue and saturation to give the stars a blue tint. then, I added a picture of fireworks between the flag and stars layers and set the blending mode to screen so that you can still see the stars behind it. Finally, I took another firework and put it in front of the flag. I used the dodge tool to light up the flag around the firework.
|

|
|
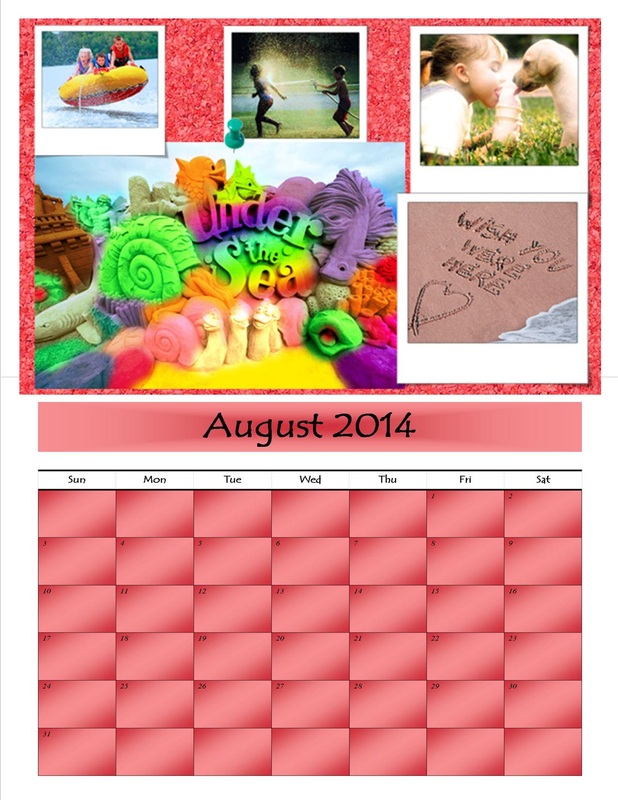
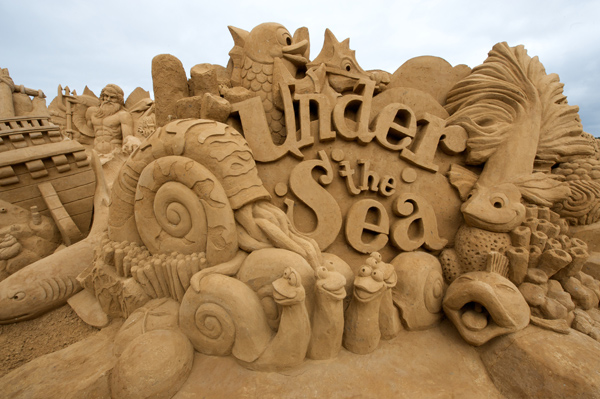
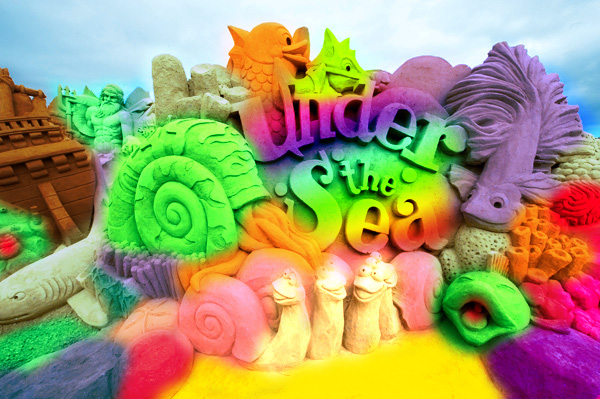
In this picture of a sand sculpture, I selected the sky with the magic wand tool and made a new layer with it. I adjusted the hue, saturation, and contrast to make the sky look more blue. In a new layer, I used the brush tool with different colors to paint over different animals and plants. I also put a rainbow gradient over the "Under the Sea" sign and erased everything around it in another new layer. Then, I merged the painted and gradient layers together and set the blending mode to overlay to give the sculpture some color.
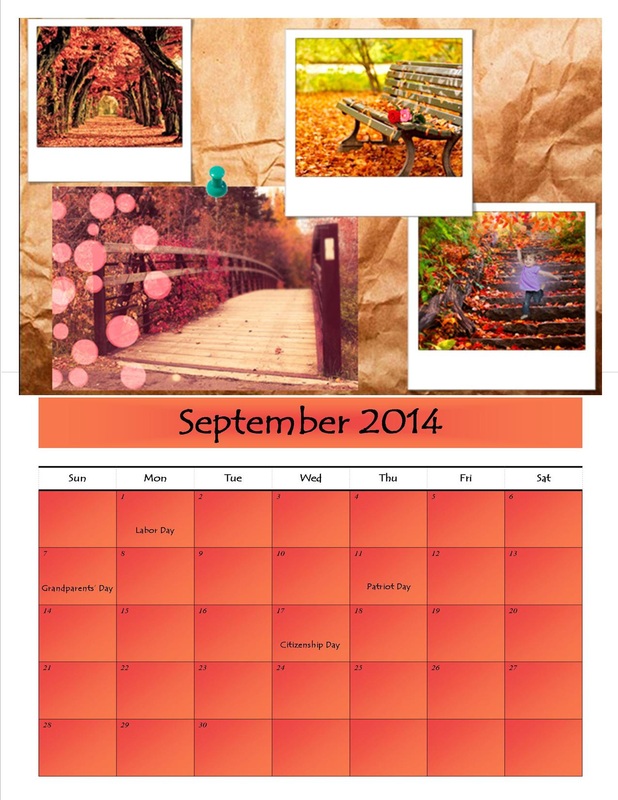
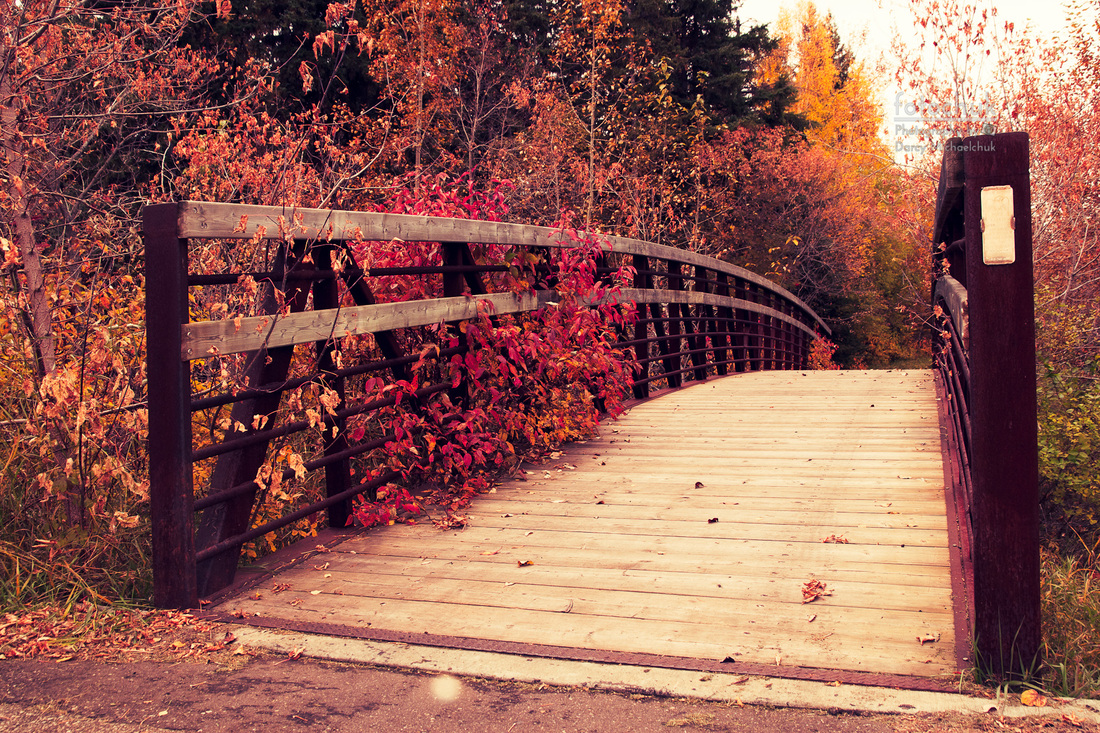
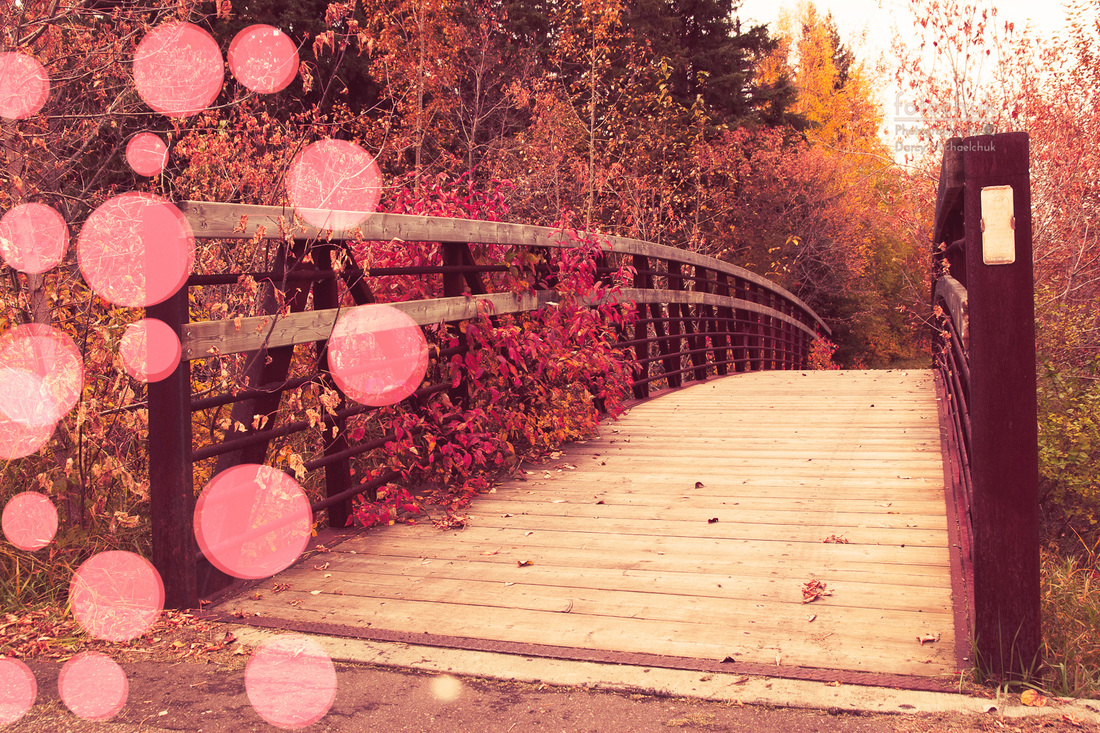
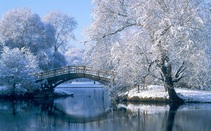
In this picture of a bridge in the fall, I adjusted the saturation, brightness, and contrast to make the picture look warmer. Next, I added a new layer and used different brush sizes to create dots on the side and set the blending mode to screen. Then, I made more dots over the ones I made, but off center. Finally, I duplicated the layer a few times and made them smaller to create more dots with all different sizes.
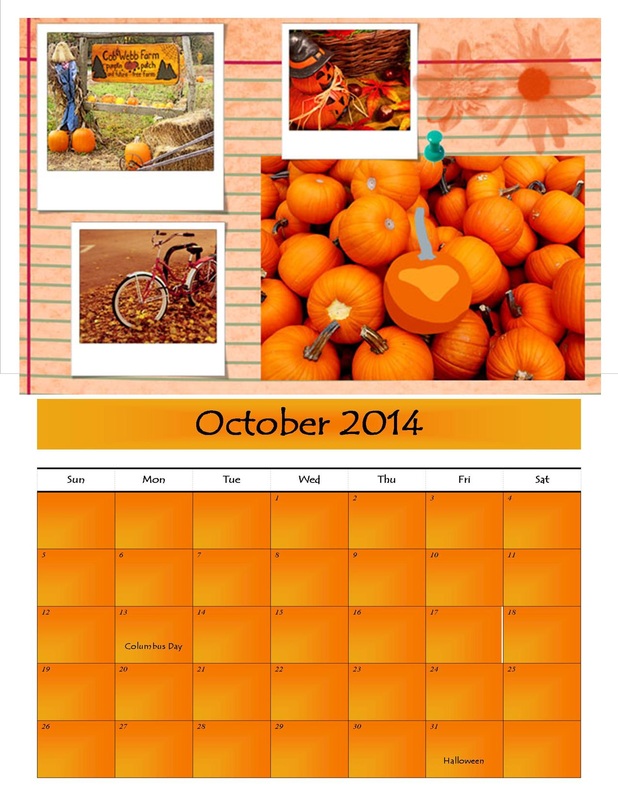
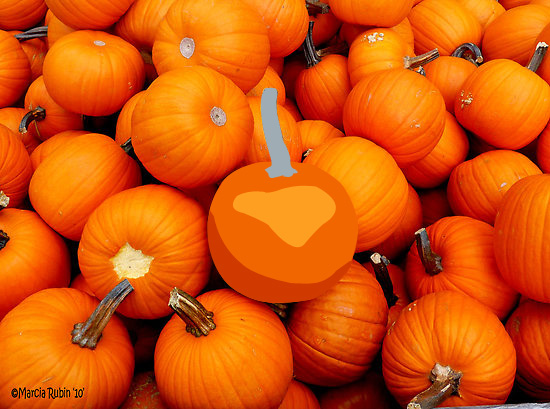
In this photo of pumpkins, I used the pen tool to select the pumpkin in the middle and changed the color of the layer to the color of the pumpkin. I did this three more times on different layers with different colors so that the entire pumpkin wasn't just one color.
|
|

|
|
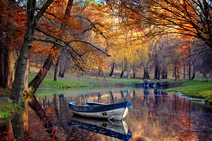
In this picture of a dog in a boat, I dodged the sides of the boat to make them lighter. I also dodged the shadow and reflection of the boat. Then, I took a picture of a puppy and slected him usin gthe emagic wand tool. I put him in the picture and used the polygonal lasso tool to make it show just his top half sticking oput of the boat. Finally, I dodged and burned the puppy to make his shadows and highlights correspond with the rest of the picture.
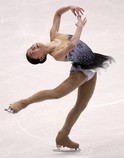
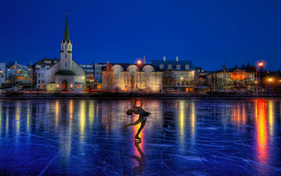
In this picture of a figure skater, I adjusted the saturation, brightness, and contrast of a frozen pond. Next, I used the magic wand tool to select the figure skater, and moved her to the frozen pond. I used the burn tool to darken her and make it look like she was lit on the other side. Then, I duplicated the layer of the figure skater and flipped it vertically. I selected her entire body, filled it with black, and decreased the opacity to make her shadow. Finally, I used a big, soft eraser to partially erase the sides of her shadow that weren't in the light reflection.
|
|

|
|
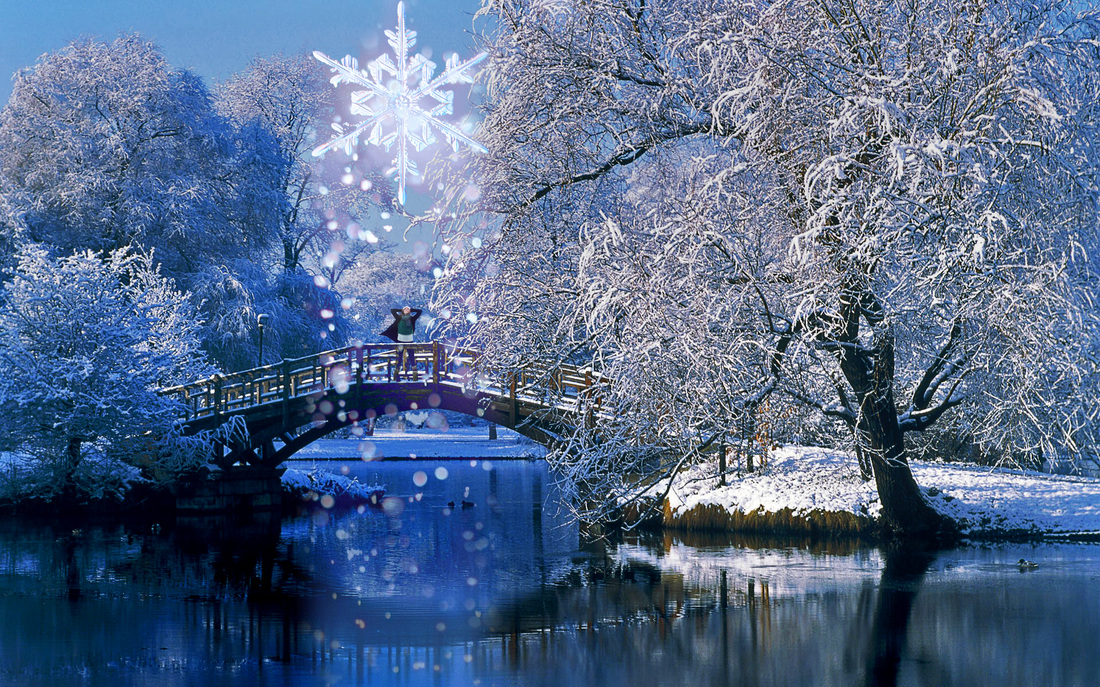
In this picture of a lady on a bridge with snow falling, I first adjusted the saturation, contrast, and brightness of the picture of the bridge. I used the polygonal lasso tool to select the lady and put her in the bridge picture. Next, I erased parts of her legs to make it look like she was standing on the bridge. I used the magic wand tool to select the snowflake and put it in the bridge picture. Then, I put the snow in the bridge picture and erased all of it except for over the bridge. Finally, I set the opacity of the snow to Lighter Color.
|
